nginx-ldap
手动编译安装nginx,添加nginx-auth-ldap模块
下载nginx源码包并解压。可在http://nginx.org/en/download.html下载.tar.gz的源码包,如(nginx-1.4.7.tar.gz)
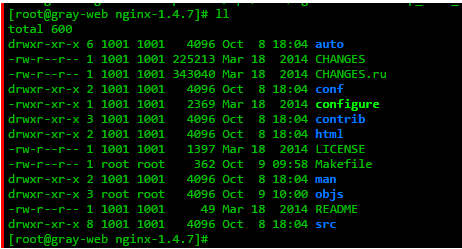
下载后通过tar -xvzf 进行解压,解压后的nginx目录结构如下:
为nginx设置安装目录,并添加nginx-auth-ldap nginx模块
 1)安装openldap-devel:yum -y install openldap-devel
        2)下载nginx-auth-ldap模块:
            cd /usr/local/src
            git clone https://github.com/kvspb/nginx-auth-ldap.git

    编译时候加入 --add-module=/usr/local/src/nginx-auth-ldap
        3)安装nginx并启用ldap:

   切换到解压后的nginx目录中执行命令:./configure --prefix=/opt/nginx --add-module=/usr/local/src/nginx-auth-ldap

    参数说明:
–prefix 用于指定nginx编译后的安装目录
–add-module 为添加的第三方模块,此次添加了ldap的nginx模块
执行安装命令:make install
配置nginx 文件
- 在nginx主配置文件(nginx.conf)的http标签中添加如下代码
group_attribute People 这个是验证的时候,访问哪个组
1 | http { |
- 启动验证server
1 | server { |